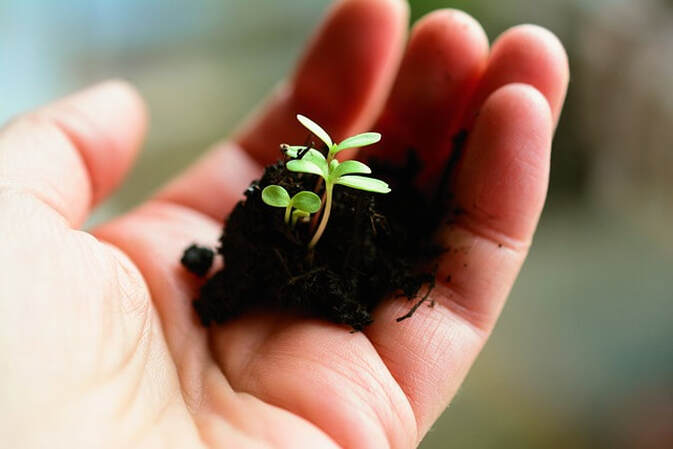
Soil blocking is a gardening technique that uses a blocking tool to create blocks (or cubes) of soil for seed starting and eliminates the need for unnecessary plastics.
Soil blockers last for decades if not generations, and your potting mix/growing medium is both the container and the soil (a block of soil if you will).
Advantages of soil blocking
Reduces Root Disturbance: Since each seedling grows in its own soil block, there's minimal root disturbance during transplantation. This can lead to healthier plants with less transplant shock.
Environmentally Friendly: Soil blocking eliminates the need for plastic trays and pots, reducing plastic waste in gardening.
Improved Air Pruning: Air pruning occurs when plant roots grow to the edge of the soil block and are exposed to air. This encourages the development of a more robust root system.
BFGC's February meeting on February 17th is wine, cheese and chocolate tastings from local makers AND we will have a comprehensive presentation on soil blocking with show and tell from gardeners who are well-versed in using this seed starting method. See home page for all details.
Key aspects of soil blocking
Soil Blockers: These are devices designed to compress and shape soil into blocks. They come in various sizes, producing different block dimensions. Common types include hand-held soil blockers and larger, multi-block versions. They come in different sizes, but the 2-inch block is good for most seeds. Here's a video reviewing the sizes of soil blockers.
Dibbles or Dibble Boards: Used to create indentations in the soil blocks for placing seeds. See our recent article on dibbles/dibblers/dibblets here. Some soil blockers come with insert dibblers you can put in and out of your blockers. See video mentioned above for examples. Dibble boards make lots of impressions all at once. See examples here and here. Or DIY your own following this video.
Soil Mix
Soil blocking uses a well-draining and fine-textured seed-starting mix. The mix is often customized with ingredients like moss, vermiculite, perlite, and compost. You won't use store bought potting soil for this. Blossom and Branch Farm (Longmont, Colorado) share their soil mixture here. You can also purchase specialized soil block soil mix online (search "soil block soil mixture to see the options).
Seed Starting Process
Wetting the Mix: Before using the soil blocker, it's essential to moisten the soil mix to the right consistency. The mix should be damp enough to hold together but not overly wet.
Creating Soil Blocks: The soil blocker is pressed into the prepared mix, forming individual blocks. Seeds are then placed in the depressions using a dibble or similar tool.
Germination: The seedlings are allowed to germinate and grow in their individual blocks until they are ready for transplantation.
Transplantation
Transplanting Intact Blocks: When seedlings are ready to be transplanted, the entire soil block is transferred directly into the garden or a larger container. This minimizes root disturbance and promotes faster establishment.
Crops Suited for Soil Blocking
Soil blocking is commonly used for starting a variety of vegetable and flower seeds. It is particularly effective for crops that are sensitive to transplant shock.
Challenges
Initial Investment: Soil blocking equipment may require an initial investment, but it can be cost-effective in the long run due to the elimination of disposable plastic trays and pots.
Learning Curve: Beginners might find it takes a bit of practice to get the soil mix consistency and block formation just right.
Come to our February meeting to see a demonstration on how to make soil blocks and have the opportunity to try it out for yourself with seasoned soil blockers on hand to help guide you.
Soil blocking can be an excellent choice for gardeners looking for a sustainable and effective method for starting seeds indoors. It offers benefits for plant health and reduces the environmental impact associated with traditional seed starting methods.
