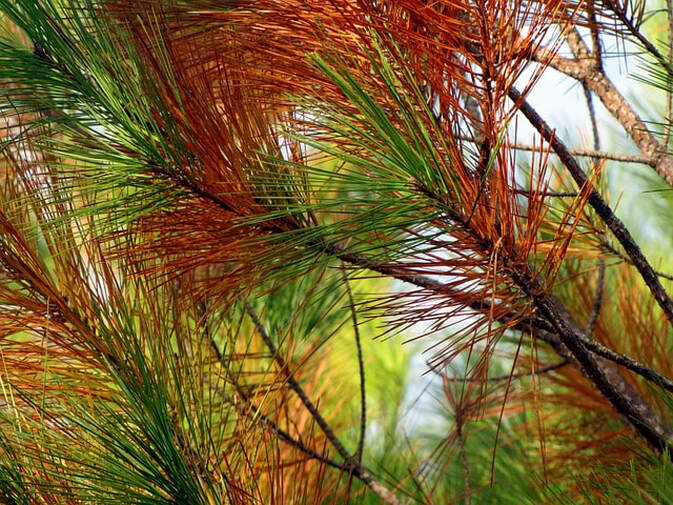
What to look for, and what to do about it
This video from Tagawa Gardens has excellent information about how to check your pine trees' health and what to do if you see a problem. Just under 4 minutes long and worth a watch.
Articles from our archives on the topic are here (about those rust-colored needles) and here (what's wrong with my pine tree?).
Also, it may be most helpful to consult with an experienced arborist.
Articles from our archives on the topic are here (about those rust-colored needles) and here (what's wrong with my pine tree?).
Also, it may be most helpful to consult with an experienced arborist.