Soil blocks are a method of starting seeds that utilize compressed blocks of soil that you form yourself.
See our recent article about key aspects of soil blocking here.
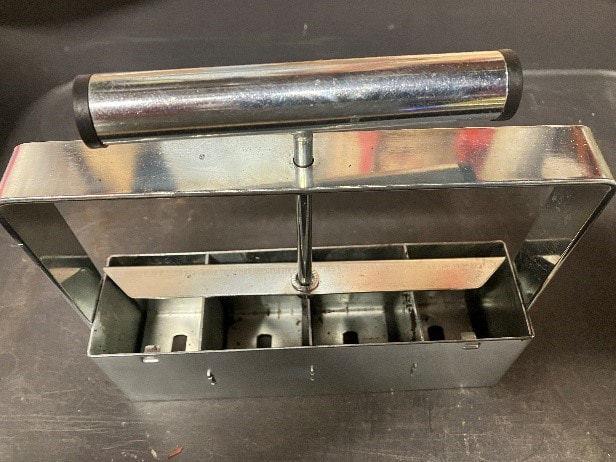
Equipment you will need: the press, which forms blocks in various sizes from .75” up to 4”. (2” size is most popular), a shallow tray of any size to hold the blocks, (think cafeteria serving tray) a tool to move the blocks (a small spatula or putty knife works well), and a specialized soil mix (see soil mix recipe below, or purchase from a nursery or online).
The process is simple. Pile up tall mound of soil mix, place the press in the pile and press down firmly. Then move the press with soil to the tray and slowly eject the block using the mechanism designed into the metal press.
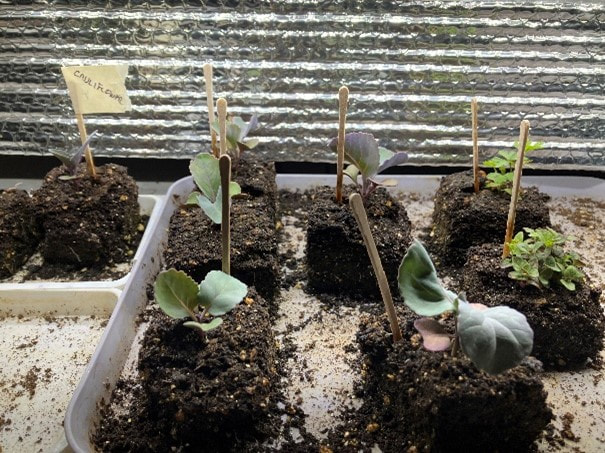
Arrange the blocks so there is at least a .25” of space between them. Then place a divot or indentation (a dibbler is a good tool for this) into the tops of the soil blocks and follow your normal seed starting routine.
Some soil block presses/molds come with inserts that automatically form a depression in the soil block where you can drop the seed.
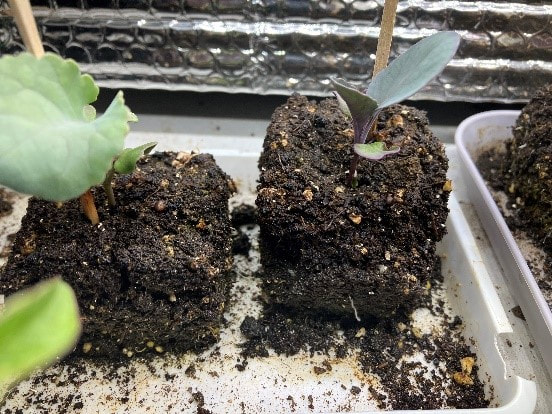
Watering is best done by gently pouring water in the tray allowing it to be wicked up by the soil from the bottom. Once roots begin to grow, the soil block gets more stable and compact (still, the blocks should always be handled gently). Soil blocks can be transplanted into pots if the plants outgrow the block.
Advantages of soil blocks:
- No pots to buy or clean! Once you invest in the press and tray that is the extent of what you need to buy, apart from soil. Huge savings on regular style seedling plastics.
- Roots will ‘air prune’ (they will grow no further than the block itself). Instead of wrapping around the pot inside and becoming root bound, they form a denser root ball and a more robust plant. If there is not adequate between soil blocks, the roots will grow into the adjacent block.
What to know before you begin:
- The soil mix can be finicky. You may have to experiment somewhat with the mix and moisture content to get a block to hold its form. See recipe below, and also here.
- The blocks dry out quickly so check at least twice daily and water accordingly (water from the bottom by pouring water into the tray, not on the blocks).
- The blocks are fragile and must be handled gently so they don’t fall apart. I use a 2” plastic putty knife into which I have put a bend to make it easier to get under the blocks. A curved spatula will also work. Don’t try to handle them with your fingers!
- Depending on the size you use, they may take up more room than other seed starting methods. The most universally used size soil block is 2-inch.
Soil Mix Recipe
- 2 parts sifted coir (coconut husk)
- 2 parts sifted compost/leaf mold
- 1 part worm castings
- 1 part vermiculite
Mix the dry ingredients together thoroughly, then use a screen with no more than .25” openings to sift the ingredients. The finer the dry ingredients the better. If you buy compost, check that it is sufficiently fine and sift it if necessary. Some commercial compost is too coarse to make good blocks.
Then slowly add water until the soil holds together when squeezed in your hand. Form a pile of the sifted and moistened soil mix and press the blocker into the pile once and press down firmly on the handle. If the block isn’t completely full, dump it out and try again with a bigger pile.
If you find your seedlings show signs of disease, you might want to sterilize your mix. Place mix in an oven bag, seal it with the provided tie and place it in a in a pan. Place it in the oven at 300° for 30 – 45 minutes. Keep in mind that sterilizing the mix will destroy all micro-organisms, including the beneficial ones.
Article submitted by Dennis Volz


